“28 days, 6 hours, 42 minutes, 12 seconds. That is when the world will end.”
— Frank the Rabbit
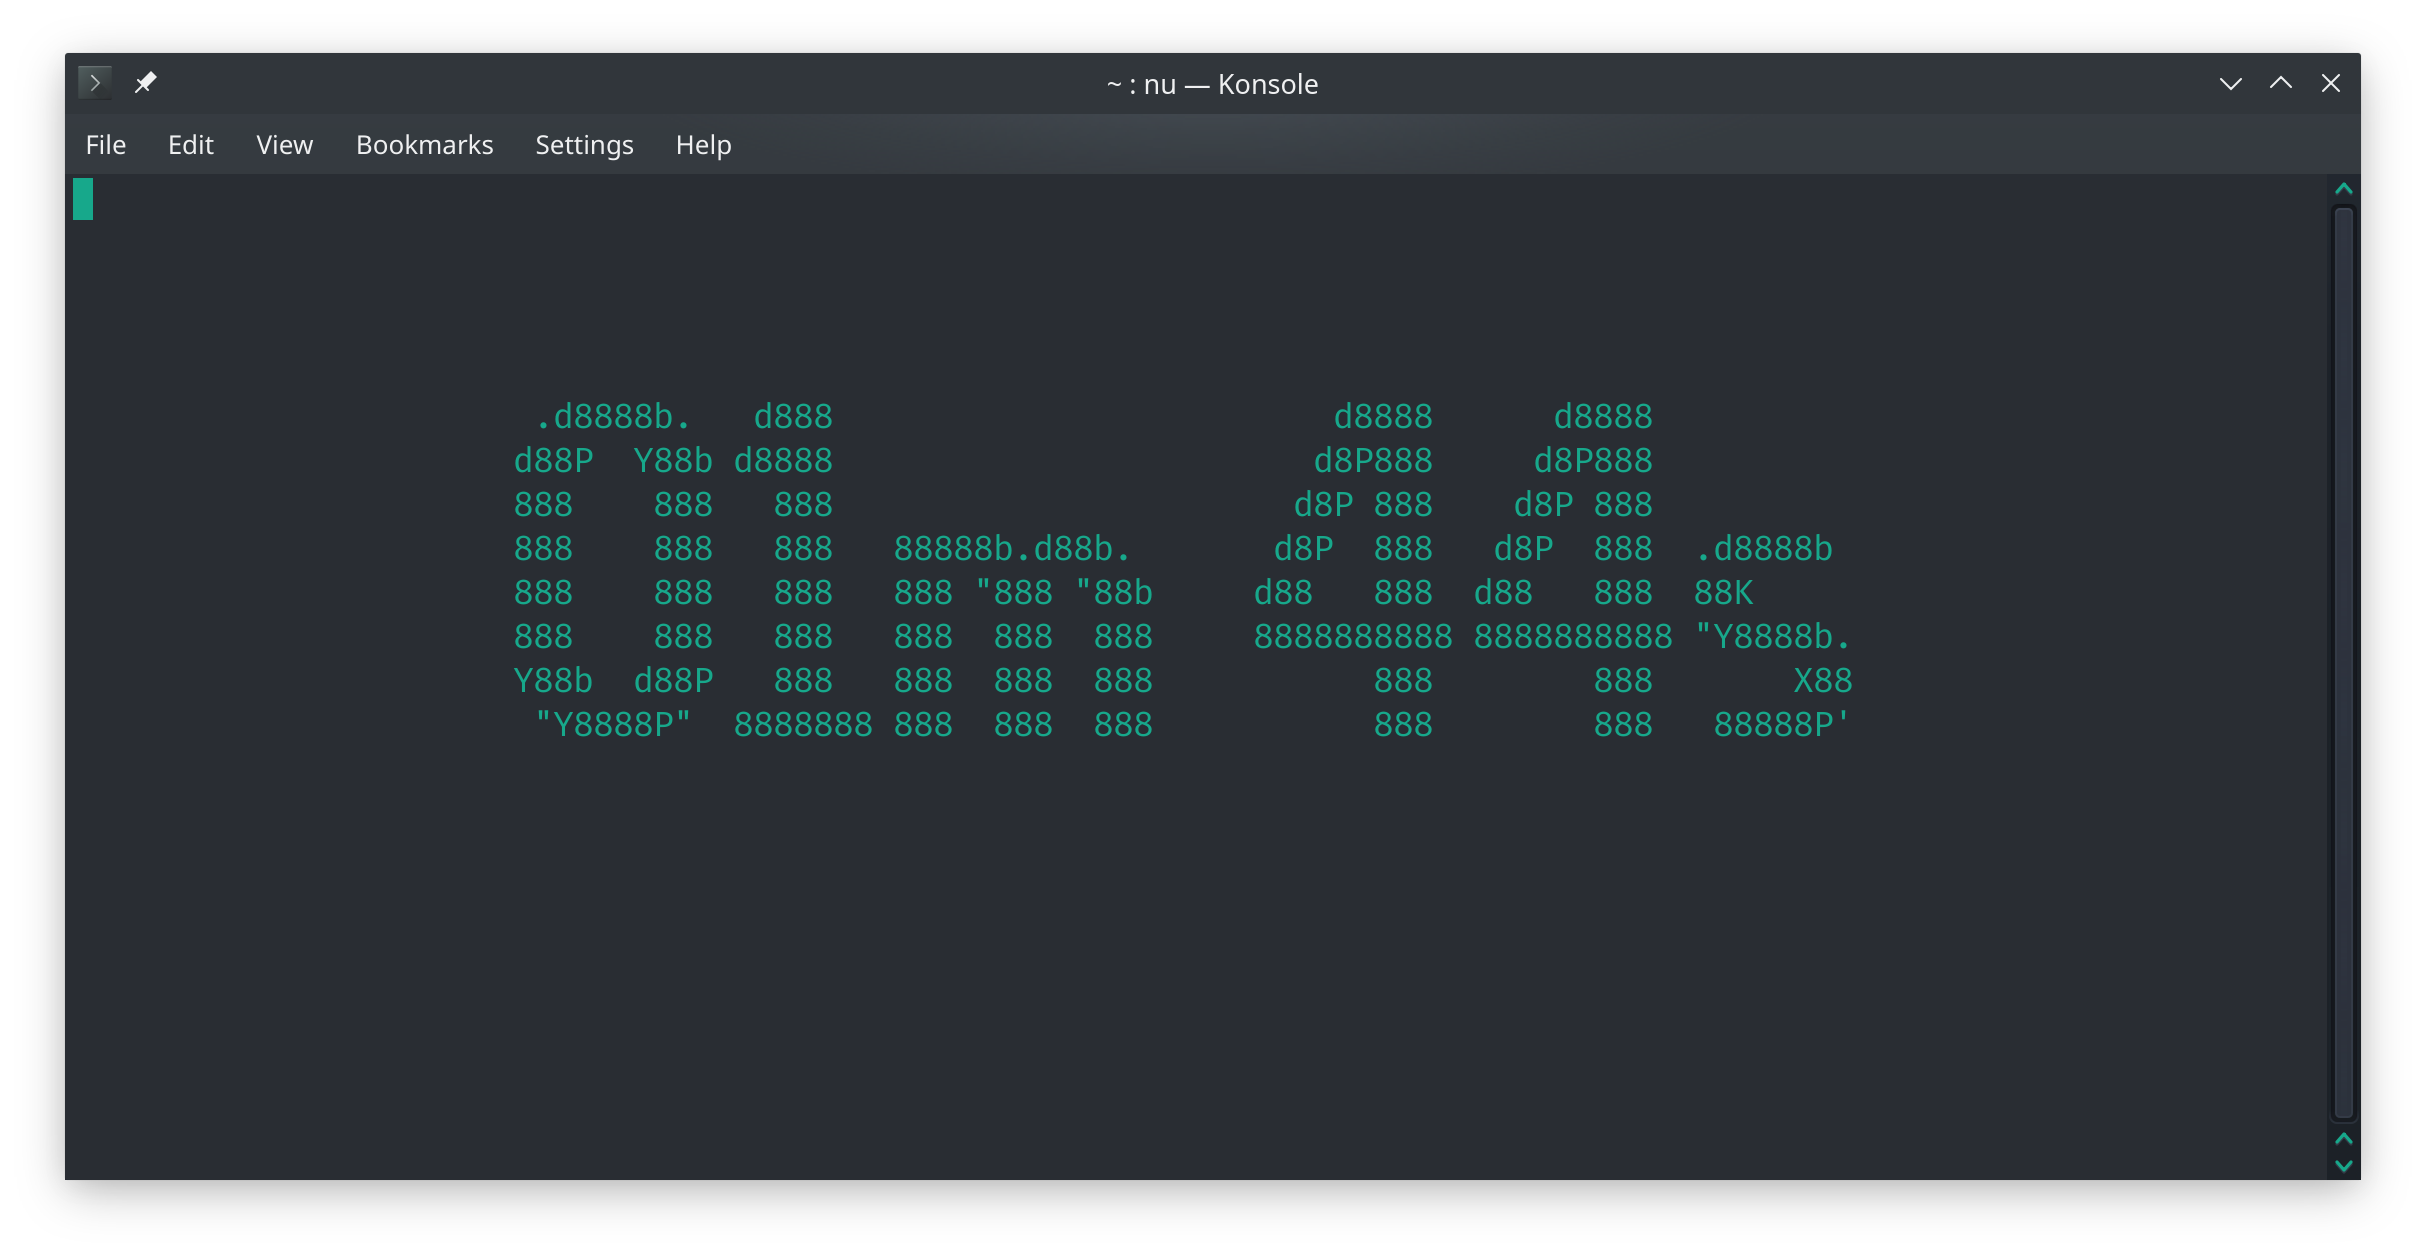
Frankmer
Frank + Timer = “frankmer”
A simple command line timer built with Rust, inspired by Frank the rabbit (or more accurately, the a man in a stupid bunny suit), from the film “Donnie Darko”.
Frank + timer = “frankmer”…
It uses FIGlet fonts, and the standard library time package for the timings, and then the fabulous crossterm and clap Crates for the CLI and terminal handling.
Installation
The easiest way to install Frankmer is to use cargo, and install it directly from github.
cargo install --git https://github.com/jinlow/frankmer.git --branch main
API
After installation, the easiest way to use the application is running frankmer in the terminal with the time shortcut commands. These should be passed as integer values, suffixed with either “h”, “m”, or “s” to specify the hours, minutes, or seconds to initialize the timer with. For example:
> frankmer 1h 10m 24s
Will start the timer with 1 hour, 10 minutes and 24 seconds.
> frankmer 3m
Will start the timer with 3 minutes.
Optionally, the flags -H, -M, or -S can be passed followed by an integer value to specify hours, minutes or seconds to initialize the timer with respectively.
For example:
> frankmer -M 5 -S 30
Will initialize the timer with 5 minutes and 30 seconds.
Simply running the command frankmer without any arguments will print out the help for the command.
> frankmer
frankmer 0.1.0
A simple timer for the command line.

USAGE:
    frankmer [OPTIONS] [time]...

FLAGS:
    -h, --help       Prints help information
    -V, --version    Prints version information

OPTIONS:
    -H, --hour <N_HOURS>         The number of hours to start the timer with.
    -M, --minutes <N_MINUTES>    The number of minutes to start the timer with.
    -S, --seconds <N_SECONDS>    The number of seconds to start the timer with.

ARGS:
    <time>...    The time used to initialize the timer with.
                 This must be the time separated by spaces describing the
                 hours (h), minutes (m), and seconds (s) to start the timer with.
                 The 'h', 'm', and 's' post fixes can be used on an integer to specify
                 the hours, minutes or seconds respectively to start the timer with.
                 If this is not set, at least one of the '--hour', '--minutes' or
                 '--seconds' flags must be set. Refer to the help for these options for
                 more details.
                 For example passing:
                     - 'frankmer 1h 10m 24s': Start the timer with one hour,
                                               10 minutes and 24 seconds.
                     - 'frankmer 3m': Start the timer with 3 minutes.
Goals
A few things I would like to add…
Styling of timer output in the terminal. This could possibly be handled by a “.config” file.
Add option to open a new window, with the timer
option so that you could continue to use the terminal.
Donnie: “Why do they call you Frank?”
Frank: “It is the name of my father… and his father before me.”
Donnie: “Why do you wear that stupid bunny suit?”
Frank: “Why are you wearing that stupid man suit?”
Import an Objective-C framework. Foundation is always imported by default
objc.ns(object, [hint = '@'])
Convert a JavaScript object to its objc equivalent. Returns null if the object doesn’t have an objc counterpart.
Takes an optional second parameter to specify whether strings should be converted to NSString objects (default), SEL or Class
Convert an objc object to its JavaScript equivalent.
Takes an optional second parameter to specify whether it should return null or the input if the object doesn’t have a JS counterpart
Calling methods
When calling Objective-C methods, all you need to do is replace the colons in the selector with underscores.
You can create a block with the objc.Block helper class:
constblock=newobjc.Block(()=>{console.log('In the block!');},'v',[]);
When creating a block, you need to explicitly declare the type encoding of the block’s return value and all its parameters.
Note
If a block takes an Objective-C object as its parameter, you’ll need to manually wrap that object in an objc.Proxy (via the objc.wrap helper function).
Example: Sort an array by word length, longest to shortest
const{NSArray, Block, wrap}=objc;const{id, NSInteger}=objc.types;constarray=NSArray.arrayWithArray_(['I','Am','The','Doctor']);constblock=newBlock((arg1,arg2)=>{arg1=wrap(arg1);arg2=wrap(arg2);returnarg1.length()>arg2.length() ? -1 : 1;},NSInteger,[id,id]);// Match the NSComparator signatureconstsorted=array.sortedArrayUsingComparator_(block);// => ['Doctor', 'The', 'Am', 'I']
Constants
You can load NSString* constants just like you’d access a class:
NSString* constants are returned as native JavaScript String objects.
Structs
Use the objc.defineStruct function to define a struct by its name and layout. The returned type can be used to create instances of the struct, and when specifying type encodings in the objc module. It is also compatible with the ffi-napi, ref-napi, ref-struct-di modules.
You can use the StructType.new function to create an instance of the struct. Optionally, you can pass
The objc module already provides a definition for NSRange, accessible via objc.types.
If a method expects an inout parameter (like NSError**), you can use the objc.allocRef function to get a pointer to a nil objc object that can be passed to a method expecting an id*:
const{NSAppleScript}=objc;constscript=NSAppleScript.alloc().initWithSource_('foobar');consterror=objc.allocRef();script.executeAndReturnError_(error);// `executeAndReturnError:` takes a `NSDictionary**`console.log(error);// `error` is now a `NSDictionary*`
Output:
[objc.InstanceProxy {
    NSAppleScriptErrorBriefMessage = "The variable foobar is not defined.";
    NSAppleScriptErrorMessage = "The variable foobar is not defined.";
    NSAppleScriptErrorNumber = "-2753";
    NSAppleScriptErrorRange = "NSRange: {0, 6}";
}]
If you need more advanced inout functionality (using primitive types, etc), simply use the ref module.
Method swizzling
Method swizzling allows you to replace a method’s implementation:
Eye Disease Detection using Swin-Transformer PyTorch README
General Description
This repository contains an AI model that does image classification on images on the eye to detect if an eye has any diseases and labels them accordingly. This repository came to life in accordance to the subject AI Convergence and Application that is held on Handong Global University (HGU).
Setup
Required packages/libraries
The full list of requirements and their version number can be found in the requirements.txt file.
Execute the following command to install all the required dependencies.
pip install -r requirements.txt
DISCLAIMER
The packages/libraries listed in the text document contains all the packages that have been installed in the used Python environment.
Furthermore the used packages/libraries might be of an older version or are not supported/maintained in the future.
Data setup
To get starting with training the model, please download the dataset (link in the citations chapter), or use your own dataset.
To properly setup, create a folder named data in the root folder and place your data in there. The images have to be separated by class by putting them in their respective folder (see example below).
Here you can find the “main” program to run/train the AI model.
requirements.txt
Here you can find all the needed packages/dependencies that were installed using the Python environment. The list also contains some packages/dependencies that were not needed to run this Jupyter Notebook.
More Information & Citations
For more information about the subject Swin Transformer visit the following websites:
@inproceedings{liu2021Swin,
  title={Swin Transformer: Hierarchical Vision Transformer using Shifted Windows},
  author={Liu, Ze and Lin, Yutong and Cao, Yue and Hu, Han and Wei, Yixuan and Zhang, Zheng and Lin, Stephen and Guo, Baining},
  booktitle={Proceedings of the IEEE/CVF International Conference on Computer Vision (ICCV)},
  year={2021}
}
Front page (just to check that the system is working and to ping it if necessary (Useful for Heroku)
How it works
The App request the urlToCheck every checkingFrequency and if any of the elementsToSearchFor are detected, a notification is sent to your Slack channel and all the emailsToAlert list.
Installation
Clone this repo git clone https://github.com/JuanmaMenendez/website-change-monitor.git
Inside the “website-change-monitor” folder, run the command npm install
In server.js, edit the “Main configuration variables”
urlToCheck = "http://urlyouwant.com/tocheck";
elementsToSearchFor = ['Text you want to watch for', 'imageYouWantToCheckItsExistence.png'];
checkingFrequency = 5 * 60000;  //5 minutes
Note: For a less chance to fall in the SPAM folder, use an email address that you own and one of these methods to validate it.
b) Put any email address in the emailFrom variable and add it to the white list in the receiver email client.
5.5 In server.js, set the emailsToAlert array. Code: emailsToAlert = ["emailOneToSend@theAlert.com", "emailTwoToSend@theAlert.com"];
Usage
node server.js
Extras
To update the “Working OK” email notification frequency, you can change the variable checkingNumberBeforeWorkingOKEmail. By default it is set to 1440 (the number of minutes a day has)

 A simple command line timer built with Rust, inspired by Frank the rabbit (or more accurately, the a man in a stupid bunny suit), from the film “Donnie Darko”.
 https://github.com/jinlow/frankmer


